
Share This Article
This post may contain affiliate links and we may get paid a small commission if you click on a link.
Please read our privacy policy and cookie policy.
A smooth, flowing silk press on natural hair can be harder to achieve at home than salon videos make it look. Preparation, product application and controlled tension during blow-drying all influence the finish. The process starts at the wash bowl.
Our practical guide to a silk press on natural hair walks you through each step, with adjustments for strand thickness and hair condition, plus tips to help minimize heat damage.
What Is a Silk Press?
A silk press is a temporary heat-styling technique that combines blow-drying and flat-ironing to create a smooth, sleek finish on natural hair. It straightens curls and coils without a chemical relaxer, although the heat involved still carries a risk of damage.
Silk Press vs. Blowout: What’s the Difference?
A blowout uses a blow-dryer and controlled tension to stretch and smooth the hair. It can be worn as a finished style or used as preparation for a silk press.
A silk press takes the process a step further by following the blowout with a flat iron for a sleeker finish. The two stages work together: a thorough blowout helps reduce the need to repeatedly flat-iron the same section.
Before You Start: Check Your Hair and Gather Your Tools
Before reaching for your blow-dryer, assess your hair’s condition and make sure you have the tools you need.
Is Your Hair Ready?
Are you experiencing significant breakage or persistent changes to your curls after heat styling? Consider previous coloring, chemical treatments and heat exposure too. If your hair is already compromised, postpone the silk press and speak to a trusted stylist before applying more heat.
Your curl pattern can influence the process. Looser patterns, such as 4A and 4B, may be easier to stretch than tighter 4C coils. These categories are only a guide: results also depend on the individual hair and technique. Work in smaller sections where needed, rather than automatically increasing heat. Even dense-looking 4C hair can have fine strands.
What Do You Need?
SILK PRESS CHECKLIST
- Shampoo suited to your cleansing needs
- Rinse-out conditioner or a deep conditioner, if needed
- Heat protectant
- Detangling brush or comb
- Sectioning clips
- Blow-dryer with an appropriate attachment
- Flat iron with adjustable temperature settings
How to Do a Silk Press on Natural Hair
Follow these six steps to prepare, smooth and style your hair for a silk press at home.
1. Cleanse Away Buildup
Start by washing away residue from previous styling products. A clean foundation helps you achieve a lightweight finish. Choose a shampoo that cleanses your hair effectively; if you have heavy buildup from gels, edge controls or other products, a clarifying shampoo may be appropriate.
A moisturizing shampoo can be part of your routine, but a second wash with a different formula isn’t automatically necessary. Focus on cleansing thoroughly and rinsing well before conditioning. Need help choosing? Explore our best moisturizing shampoos for 4C hair.
2. Condition and Detangle
Conditioning after shampooing helps smooth the hair’s surface, improve manageability and make detangling easier. Gently work through tangles in sections, starting at the ends and moving toward the roots.
If your hair needs a deeper conditioning step, choose a deep conditioner suited to its needs. Follow the product’s directions for timing and whether to use a heat cap or steam, rather than assuming a longer treatment is better. Rinse thoroughly so any leftover conditioner doesn’t weigh down your finished style. Find a formula for your routine in our best deep conditioners for 4C hair guide.
3. Apply Heat Protectant Evenly
Heat protectants come in sprays, serums and creams. Choose a formula suited to your hair and styling tools, then apply it evenly in sections according to the directions. Fine strands can feel weighed down by excessive layering, so pay attention to the recommended amount.
TIP: Plan your heat protection for both blow-drying and flat-ironing. One option is a heat-protecting leave-in before blow-drying, followed by a dry-hair heat protectant before flat-ironing. Follow both products’ directions for amounts and compatibility.
Heat protection and humidity resistance serve different purposes. If reversion is a concern, look for a formula that also offers humidity protection rather than assuming every heat protectant does both. Compare sprays, serums and creams in our best heat protectants for natural hair guide.
4. Blow-Dry in Sections
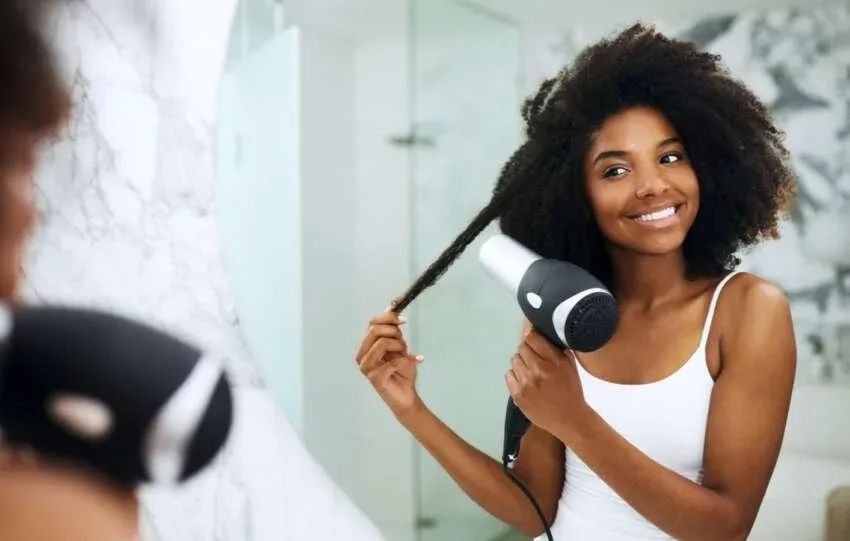
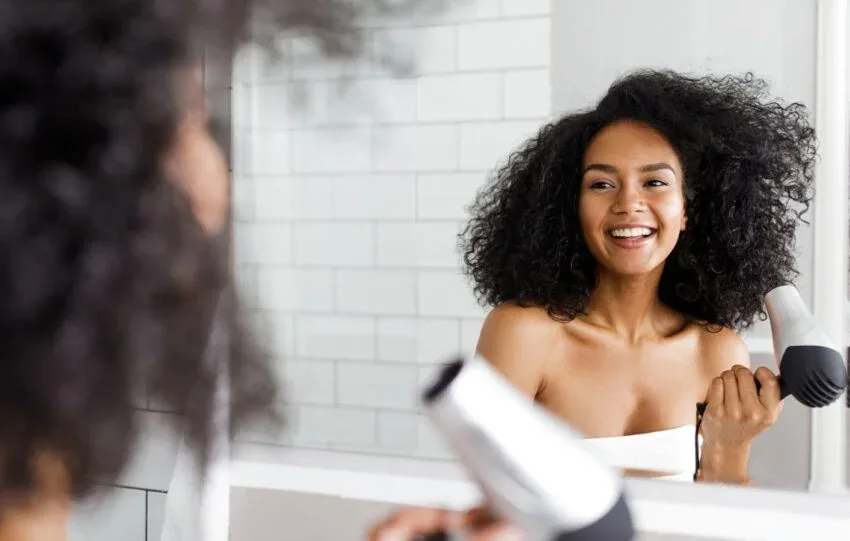
The blow-dry lays the foundation for a smooth silk press with movement. Work methodically, using controlled tension to stretch your hair so the flat iron has less work to do.
Start by dividing your hair into four to six sections, then work through smaller subsections as needed. Your tools matter: use a suitable comb attachment or a concentrator nozzle paired with a heat-safe brush that moves through your hair without snagging. Gently work through any tangles from the ends upward before stretching each subsection.
Keep the dryer moving and avoid pulling hard to force the hair straight. Before flat-ironing, check that every section, including the roots, is fully dry and thoroughly stretched.
5. Flat-Iron Small Sections with Controlled Heat
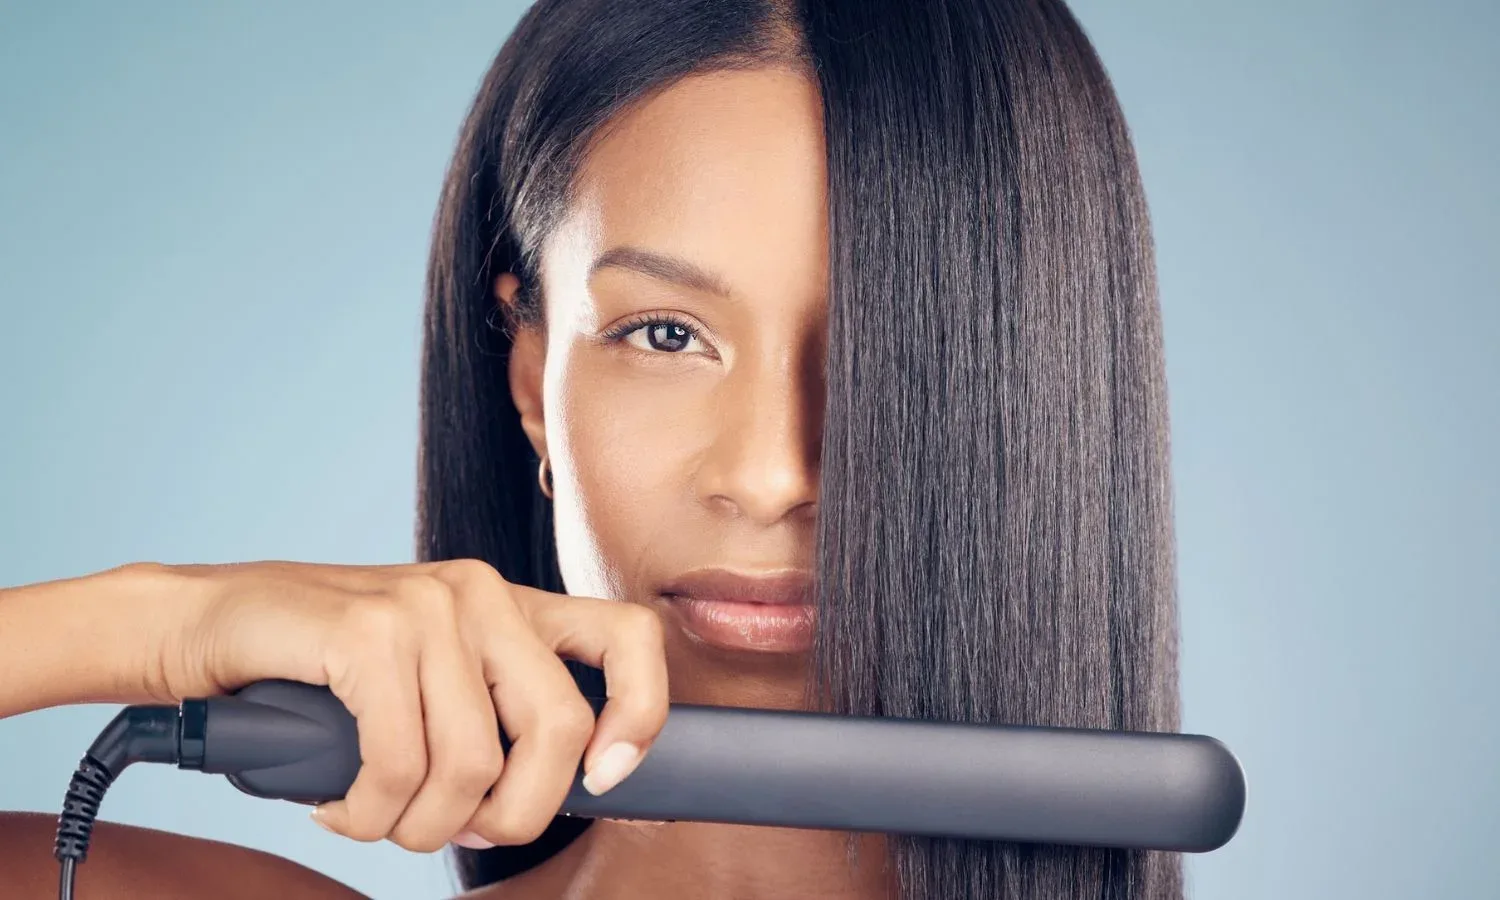
Work with small, thin, detangled sections. Use the chase method: glide a heat-resistant comb down each section with the flat iron following just behind. This keeps strands separated and aligned. Aim for one continuous pass, keeping the iron moving. If the finish isn’t smooth, check your section size and blow-drying technique before applying more heat.
No single temperature is safe for everyone, and 4C hair doesn’t automatically require higher heat. Start low and use the lowest effective setting. The American Academy of Dermatology recommends flat-ironing on dry hair at low or medium heat.1
6. Finish Lightly
Assess your hair before adding a finishing product. If it needs extra shine or flyaway control, smooth a small amount of lightweight serum over the lengths and ends, following the product’s directions. Fine strands can become weighed down quickly, so start sparingly.
.
Watch: Silk Press Tutorials for Type 4 Hair.
Explore silk press techniques for shorter and longer Type 4 hair, with tips you can adapt for 4A, 4B and 4C textures. Watch the section sizes, blow-drying technique and flat-iron passes.
Shorter Hair Silk Press Tutorial
Longer Hair Silk Press Tutorial
Why Does My Silk Press Look Puffy or Feel Stiff?
If your silk press looks puffy or feels stiff, more heat isn’t necessarily the answer. Preparation, product choice and moisture exposure can all affect the finish. Use these checks to work out what might need adjusting.
| Problem | What to Check |
|---|---|
| Puffy immediately after styling | Large sections or an uneven blow-dry may leave areas insufficiently stretched. Review your section sizes and blow-drying technique before increasing the flat-iron temperature. |
| Heavy, greasy or stiff | Too much product, rich formulas or leftover residue can weigh hair down. Consider how much you applied and whether you thoroughly rinsed out your conditioner. |
| Reverts soon after styling | Humidity and sweat can cause hair to revert. Hair that wasn’t fully dried before pressing can also affect the result. |
If the finish isn’t what you hoped for, consider a loose updo or another style that doesn’t require more heat. Note what to adjust next time rather than repeatedly adding products or flat-iron passes.
Can a Silk Press Damage Your Natural Hair?
That first wash after a silk press can feel like a moment of truth: will your curls return? A silk press can cause heat damage, even when you take precautions. Heat protectants help reduce the risk, but they don’t eliminate it.2
Temperature, contact time and frequency all matter. High heat, repeated passes and frequent touch-ups increase exposure and can lead to lasting texture changes and breakage. There is no universal schedule that makes silk presses risk-free, so spacing out heat styling helps limit repeated exposure.
A silk press temporarily changes how your hair looks. Curls that remain noticeably looser or straight after washing are different from the temporary stretched finish you intended. Persistent changes can indicate heat damage, particularly alongside increased breakage. Pause heat styling and seek advice from a trusted stylist if you notice these signs.
Bond-building treatments may improve some aspects of damaged hair, but they cannot guarantee restoration of your original curl pattern or completely undo heat damage. Prevention remains more reliable than trying to repair the effects afterward.
How Long Does a Silk Press Last?
A silk press may last around one to three weeks, although the sleek finish can fade sooner. Humidity, sweating and daily habits all influence how quickly your hair begins to revert, so treat this as an estimate rather than a guarantee.
Wrapping your hair at night with a silk or satin scarf can help preserve the style. Don’t delay washing when your scalp needs cleansing just to keep your hair straight. For wrapping techniques, nighttime care and managing moisture exposure, explore our silk press maintenance tips.
Closing Takeaway
A smooth silk press on natural hair with plenty of movement starts with good preparation, suitable tools and careful technique. Choose lightweight formulas and follow application directions to protect your hair without unnecessary layering. Focus on a thorough blow-dry and controlled flat-ironing, adapting each step to what your hair needs rather than relying on extra heat.
SOURCES
- American Academy of Dermatology: Hair styling without damage ↩︎
- Zhou et al. (2011): The effect of various cosmetic pretreatments on protecting hair from thermal damage by hot flat ironing ↩︎